Bloom on a Budget: How to Turn Dollar Store Peonies into a Chic Floral Arrangement
Let’s talk florals — specifically, how to take those humble Dollar Store peonies and turn them into a bouquet that looks like it came straight from a high-end florist. If you’ve ever walked past the faux flower aisle and thought, “These are cute, but can they really look good?” — the answer is YES. With a few styling tricks and thoughtful touches, you can make budget blooms look absolutely swoon-worthy.
Why Dollar Store Peonies?
Peonies are beloved for their soft, full petals and romantic feel, and the faux versions are surprisingly charming — especially when you know how to pick them out. The best part? They’re affordable, accessible, and perfect for anyone wanting to add a cozy, curated feel to their space without overspending.
What You’ll Need:
- 2–3 bundles of faux peonies from the Dollar Store (look for ones that are more muted in color)
- 2-3 bundles of faux flowers that have a leaf pattern similar to the peony (think: dark green, long and narrow)
- A simple glass or ceramic vase that is low in profile (Dollar Store has plenty!)
- Floral tape to combine floral stems together
- Wire cutters or strong scissors
Step-by-Step: From Budget Blooms to Bougie Beauty


1. Pick the Right Bundles
Start by looking for a bundle of florals that are more yellow in color and less pink and white. The more saturated the color, the more it reads as fake and cheap. I went with these bundles for the flowers. Ignore the bad faux leaves (for now!). I also grabbed another set of florals to use the leaves and make them more true to an actual peonies’ leaf structure.

2. Swap Out Leaves
Remove the gaudy green leaves from the peony stems and replace them with the leaves that better match natural peony leaf structure.

3. Vary the Heights
Use your wire cutters to snip some stems at different lengths. This helps the arrangement look more dynamic and intentional — not like you just plopped them in a vase (even if you kinda did!).

4. Combine Various Trimmed Stems Together
Once you have cut a few at varying heights, combine some stems together to imitate two flowers growing from one stem. Use the floral tape and make sure you wrap it tightly as that activates the sticky glue. If you need, twist your fingers tightly over the end of the tape to mold it into place.

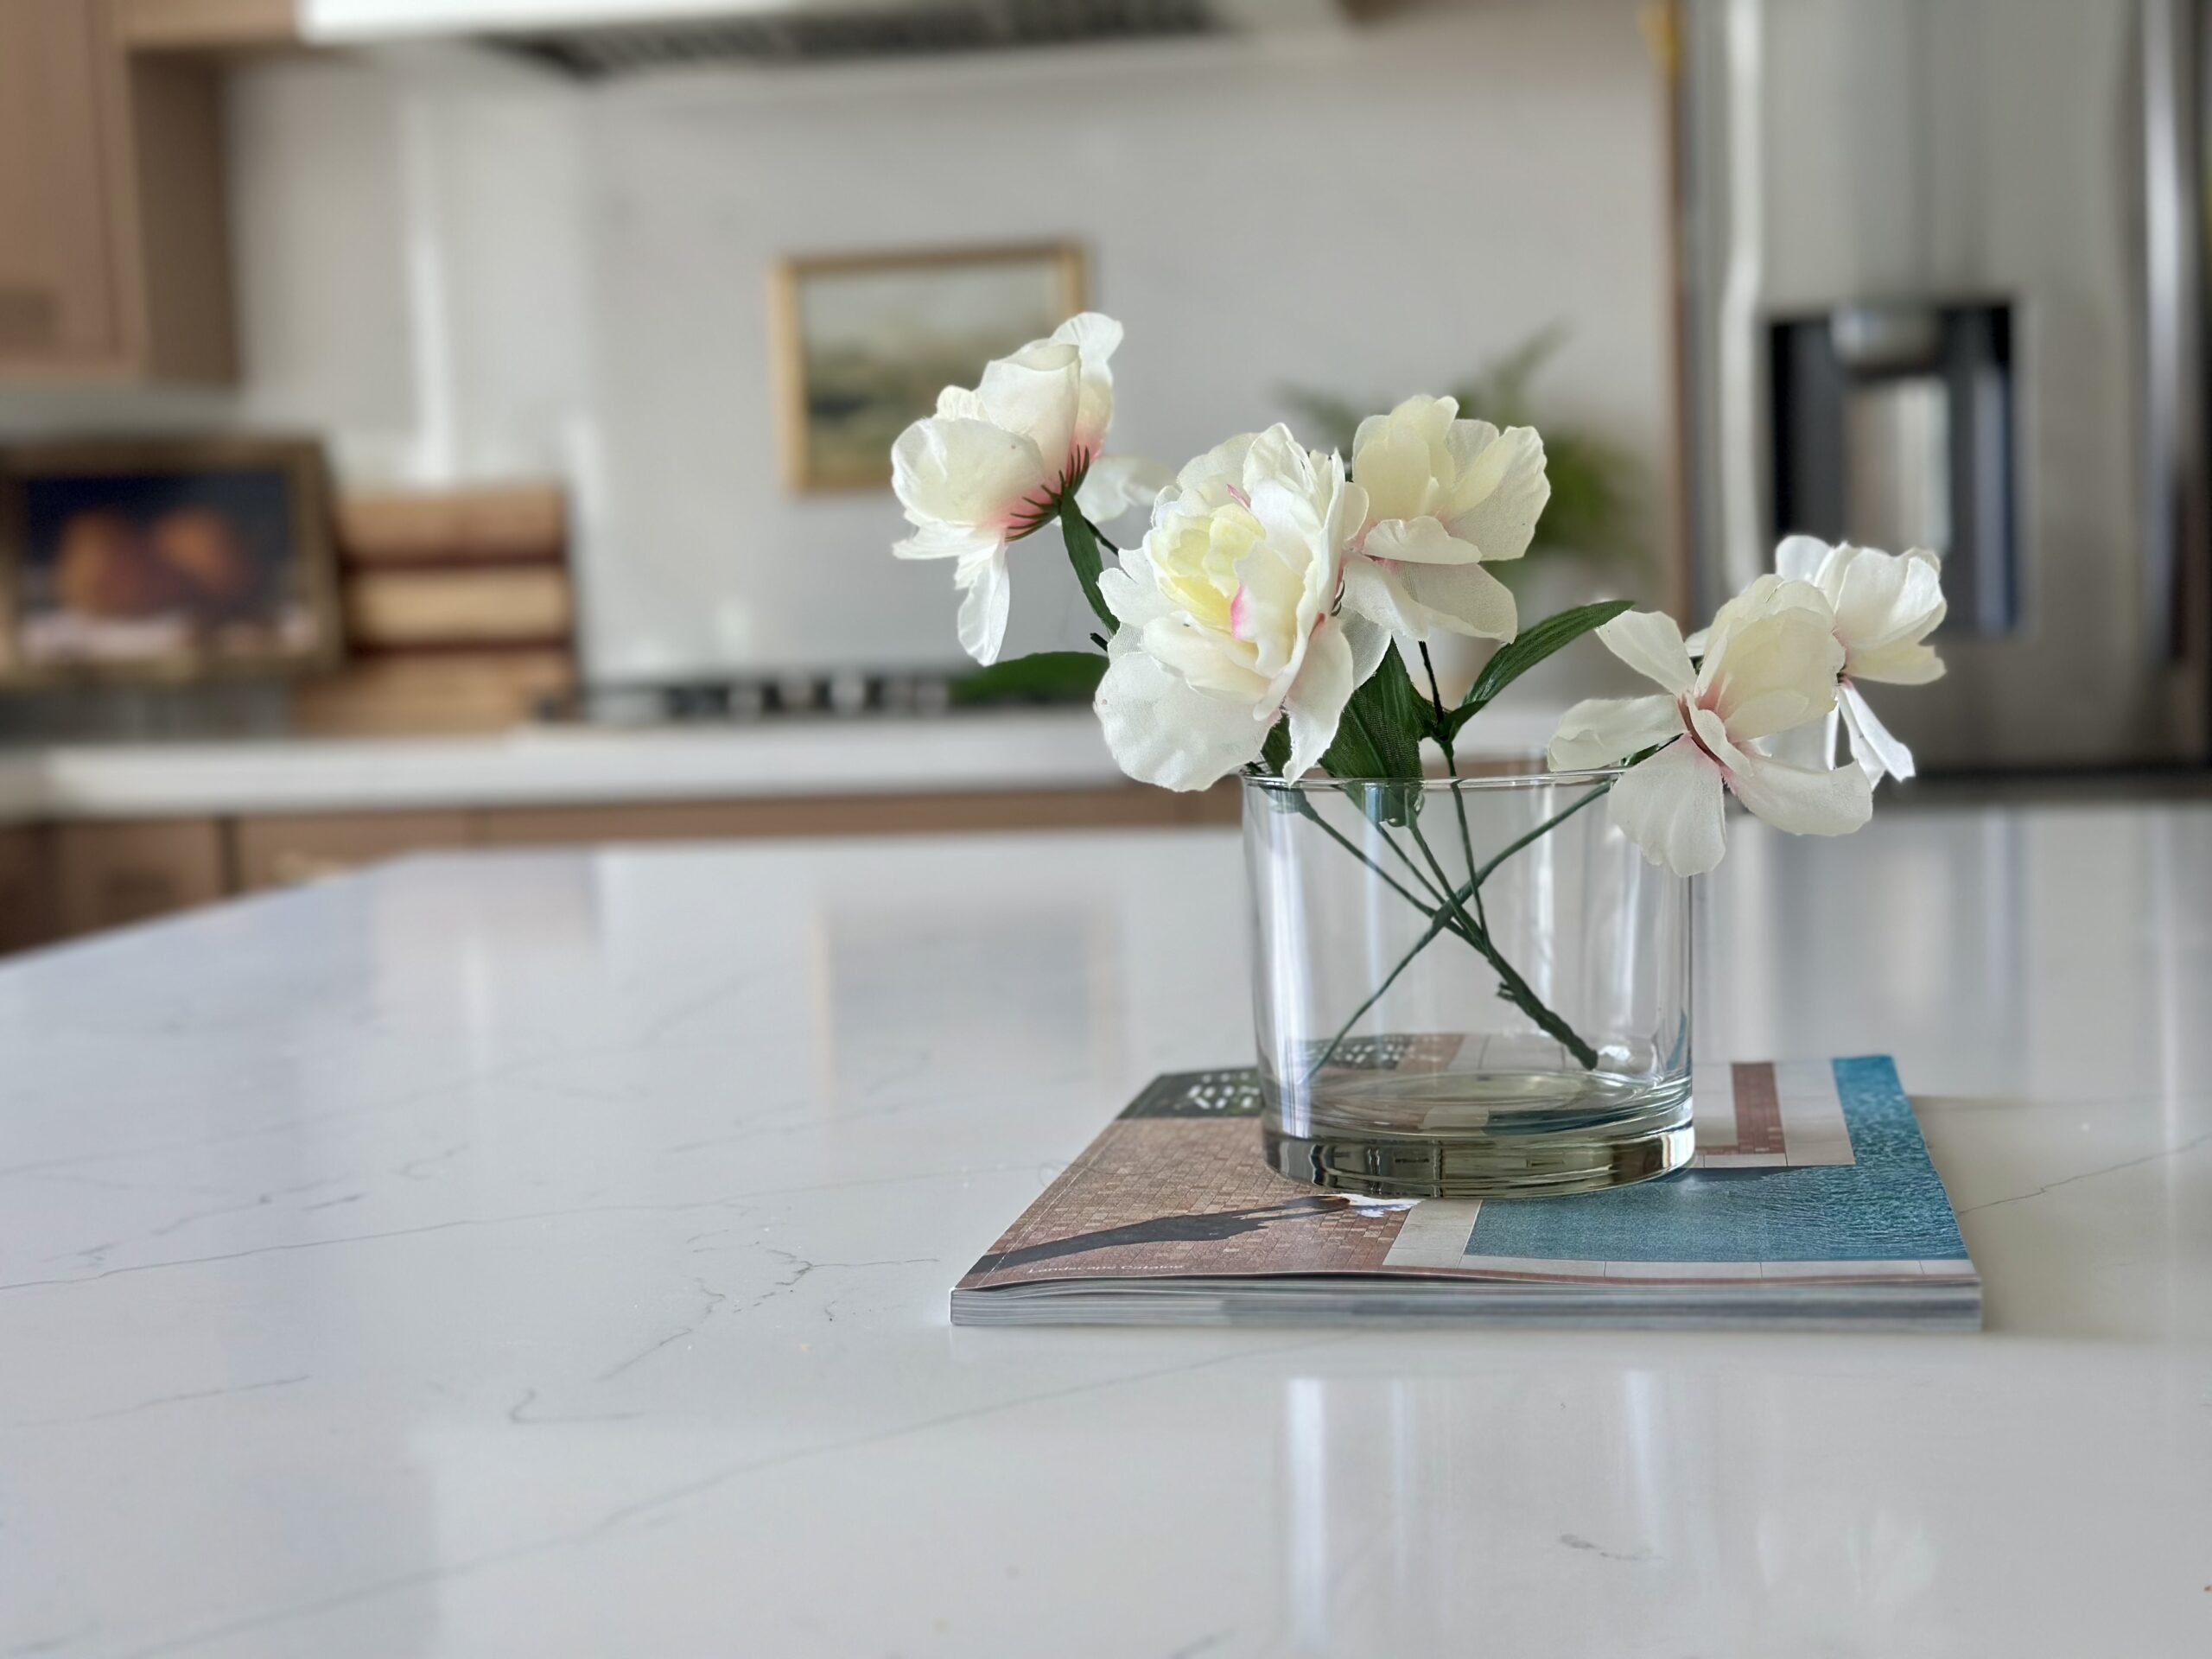
5. Finishing Touches
Arrange the stems with varying heights on either side of the vase for a dynamic look. Hook stems through each other like an “X” so they will stay in place. Tie a ribbon around the vase, fill the vase with stones (if that is your preferred look!), or place the bouquet on a neutral tray with a candle or stacked books for a full vignette moment.

Style It Your Way:
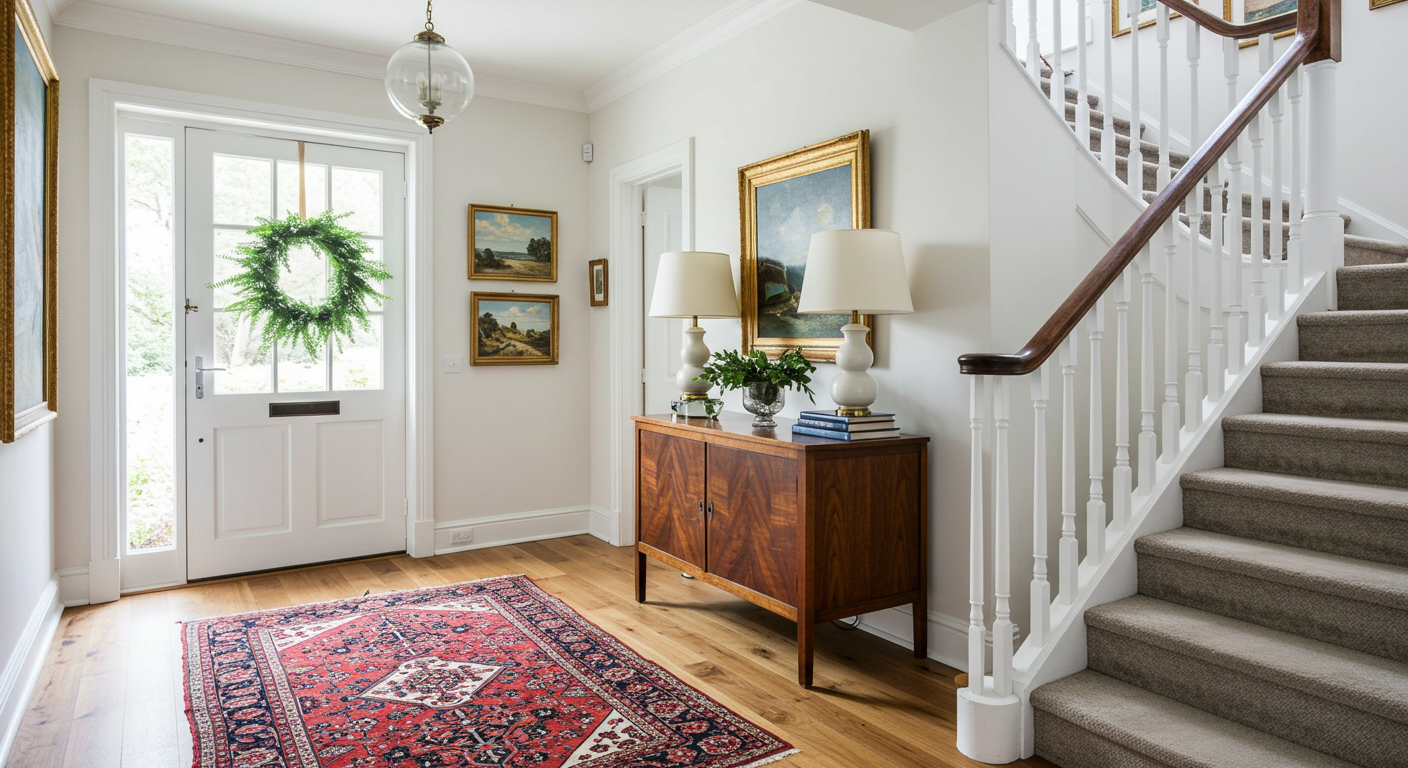
- Entryway Moment: Place your bouquet next to a small mirror or a bowl for keys — instant warm welcome.
- Coffee Table Charm: Set it on a wooden tray with coasters and a candle for that designer-styled look.
- Kitchen Corner Glow-Up: Nestle it beside your favorite cookbook or a mini cutting board for a cozy touch.
Final Thoughts
Who says style has to come with a steep price tag? This DIY proves that with a little creativity and a few Dollar Store finds, you can make your home feel high-end and heartfelt. So next time you’re cruising those budget aisles, don’t skip the floral section — your dreamy, designer-inspired bouquet awaits!